


Re-packaging the printer

Home the printer
- Home the printer as usual with nozzle and buildplate (3) attached
- Remove the cartridge, piston, nozzle, nozzle element (14) and buildplate (3)
Transport position
- Close the print head door (16) and secure it (i.e. with a piece of tape)
- Move the printer into it's transport position
(Quick-Actions -> Transport) - Confirm your input
Preparations for packaging
- Remove the printhead guide (7) (loosen both screws (23) by about one turn to do so)
- Safely store away the Z-button (6) in it's bag and secure it to the printer with a piece of tape or alike
- Remove all parts from the preheater (8)
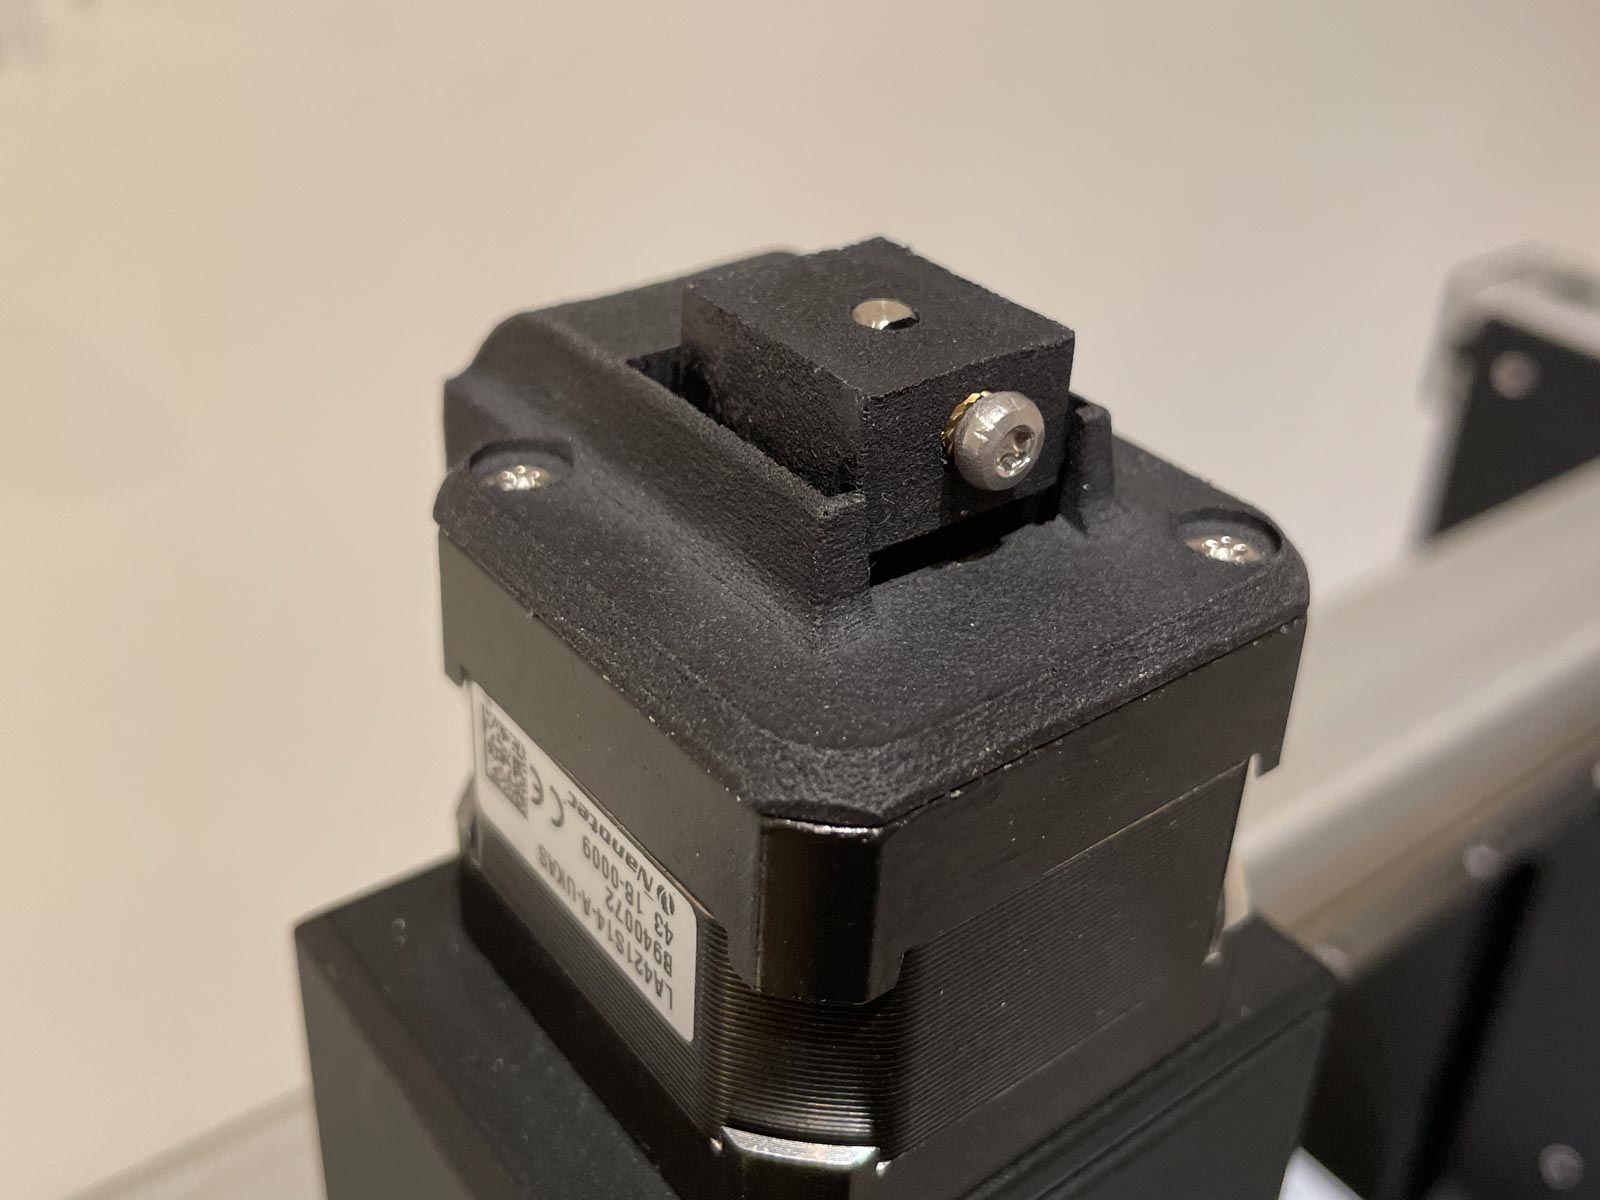
Shutdown
- Make sure the center of the sliding element (21) is roughly aligned with the top of it's fixture
- Shutdown the printer
- Remove the power supply once the printer is fully turned off
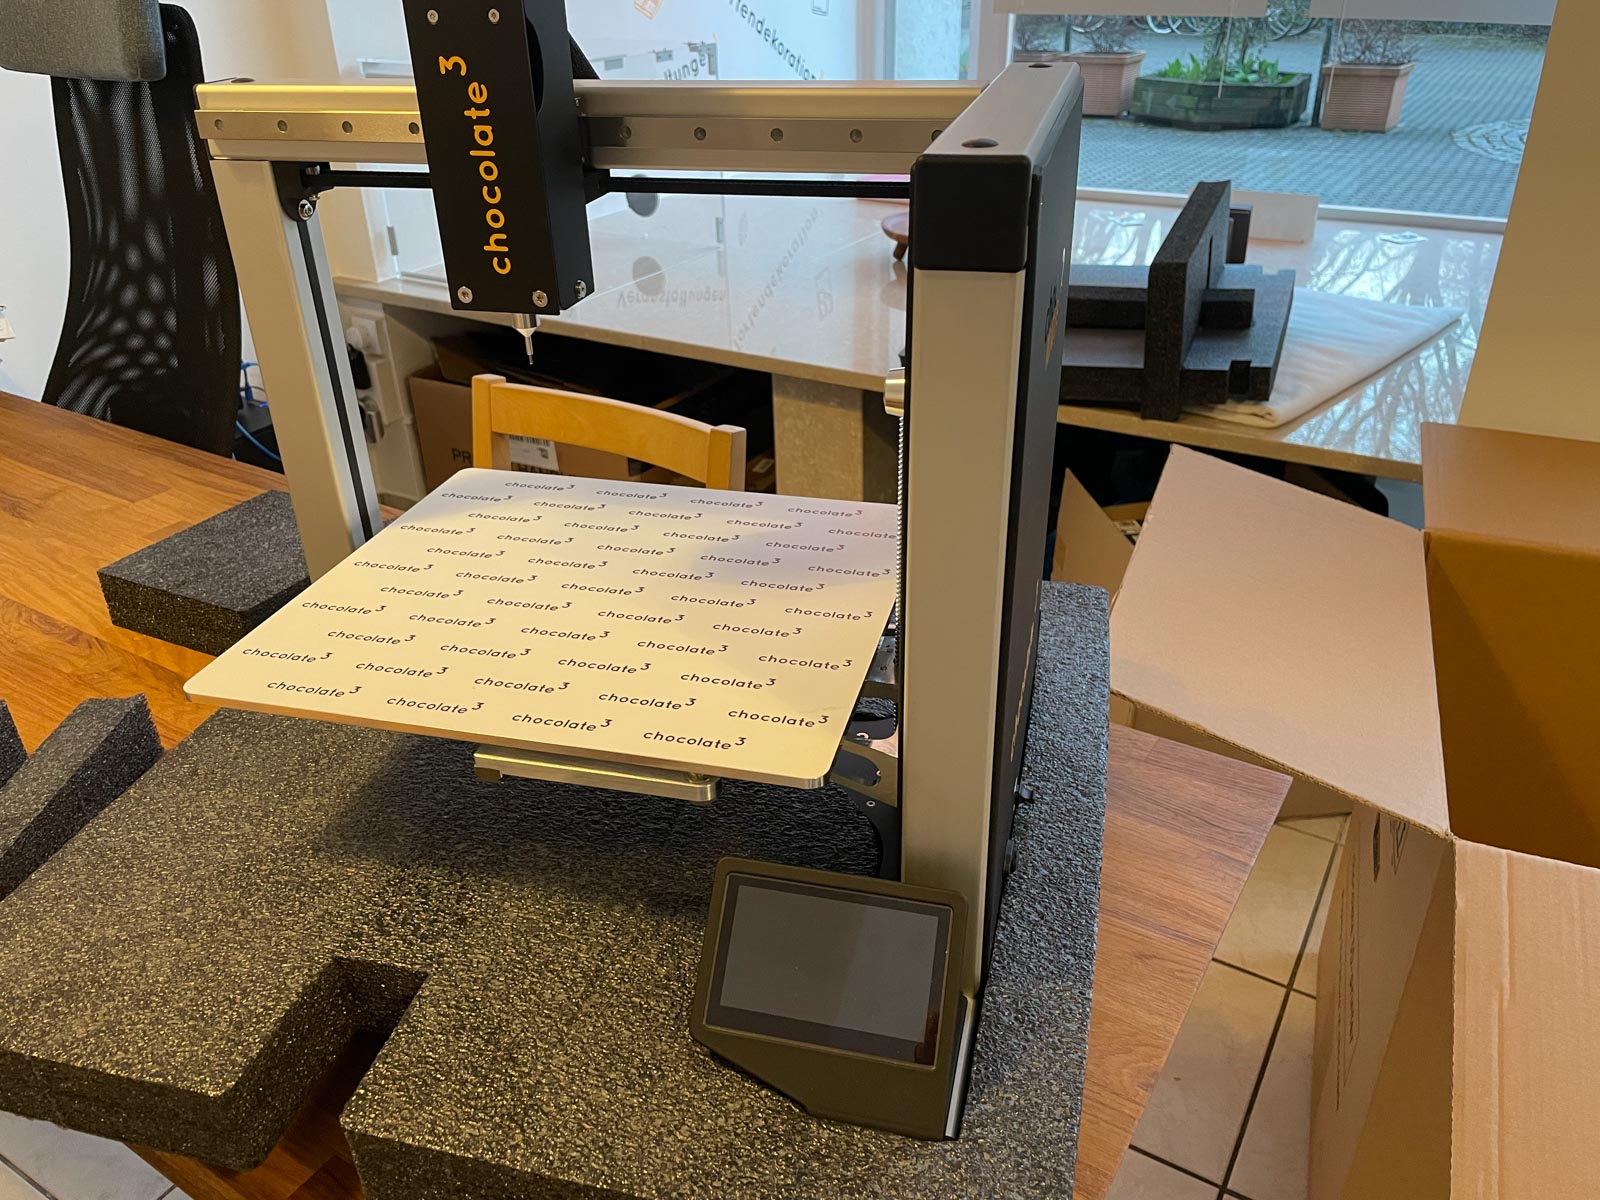
Packaging step 1
- Lay the base part of the foam packaging onto a flat surface
- If needed fold down the flaps
- Cover the printer with it's plastic cover
- Place the machine into the cutout
Packaging step 2
- Push both foam pieces securing the printbed all the way onto the printbed by sliding the slit over it
- Hold the printbed from the opposite side while doing so
- The foam part with the round cutout faces the back (in the direction of the other round cutout)
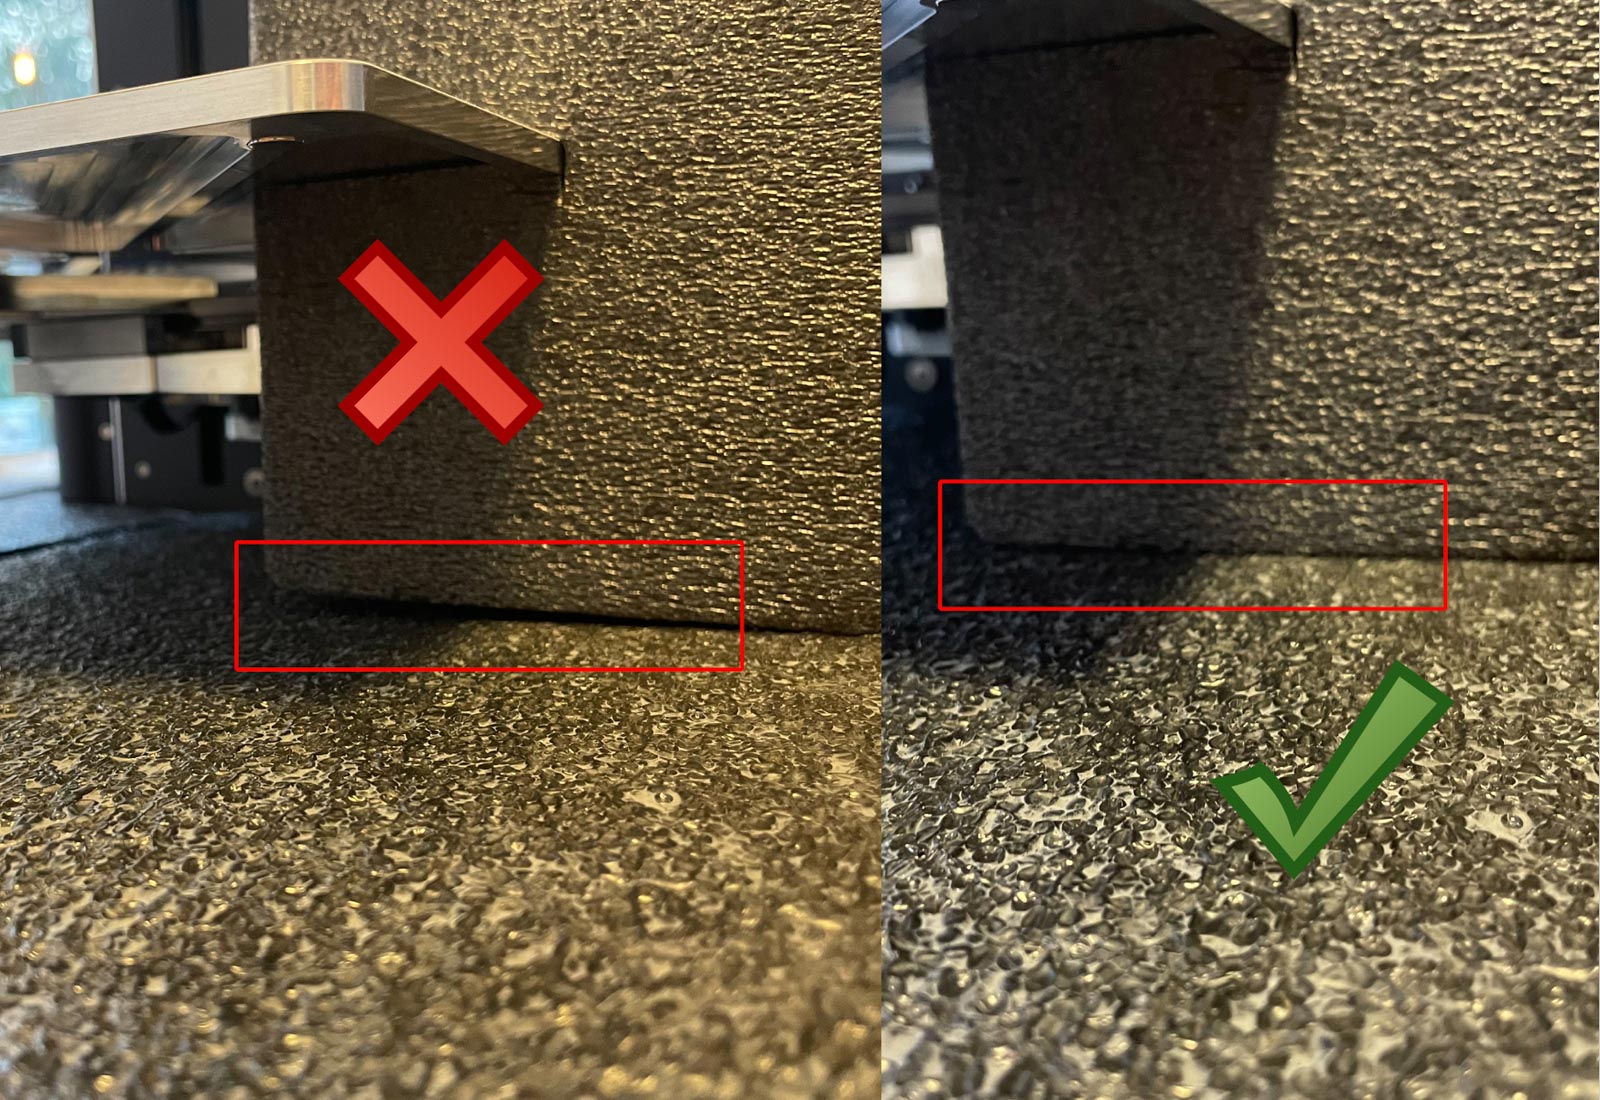
Packaging step 3
- Make sure the printbed is on the exact height of the cutouts in the foam
- When looking from the side there should neither be a gap between the foam pieces neither should the be squished
- If needed, you can correct the height of the printbed by turning the spindle
Packaging step 4
- Place the printer together with the foam piece into the transport box
- Both handle cutouts should face towards the front and the back (so you can kind of look trough the printer)
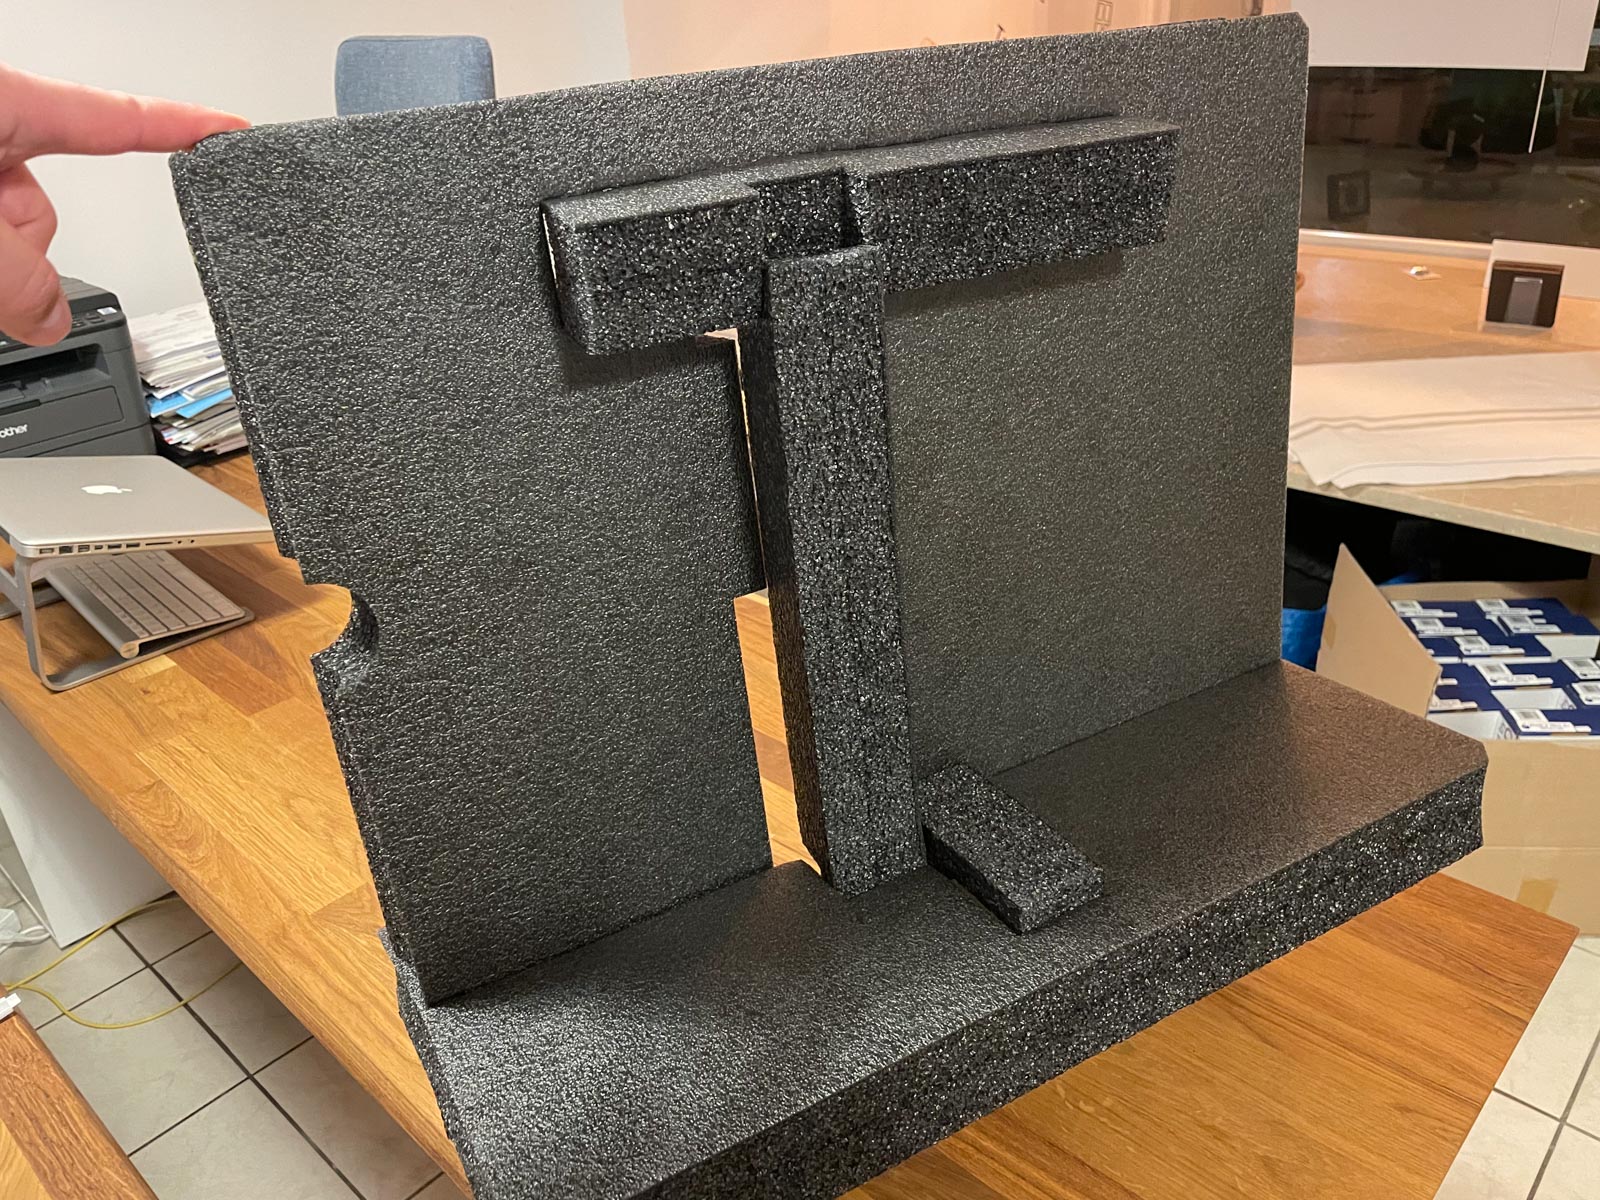
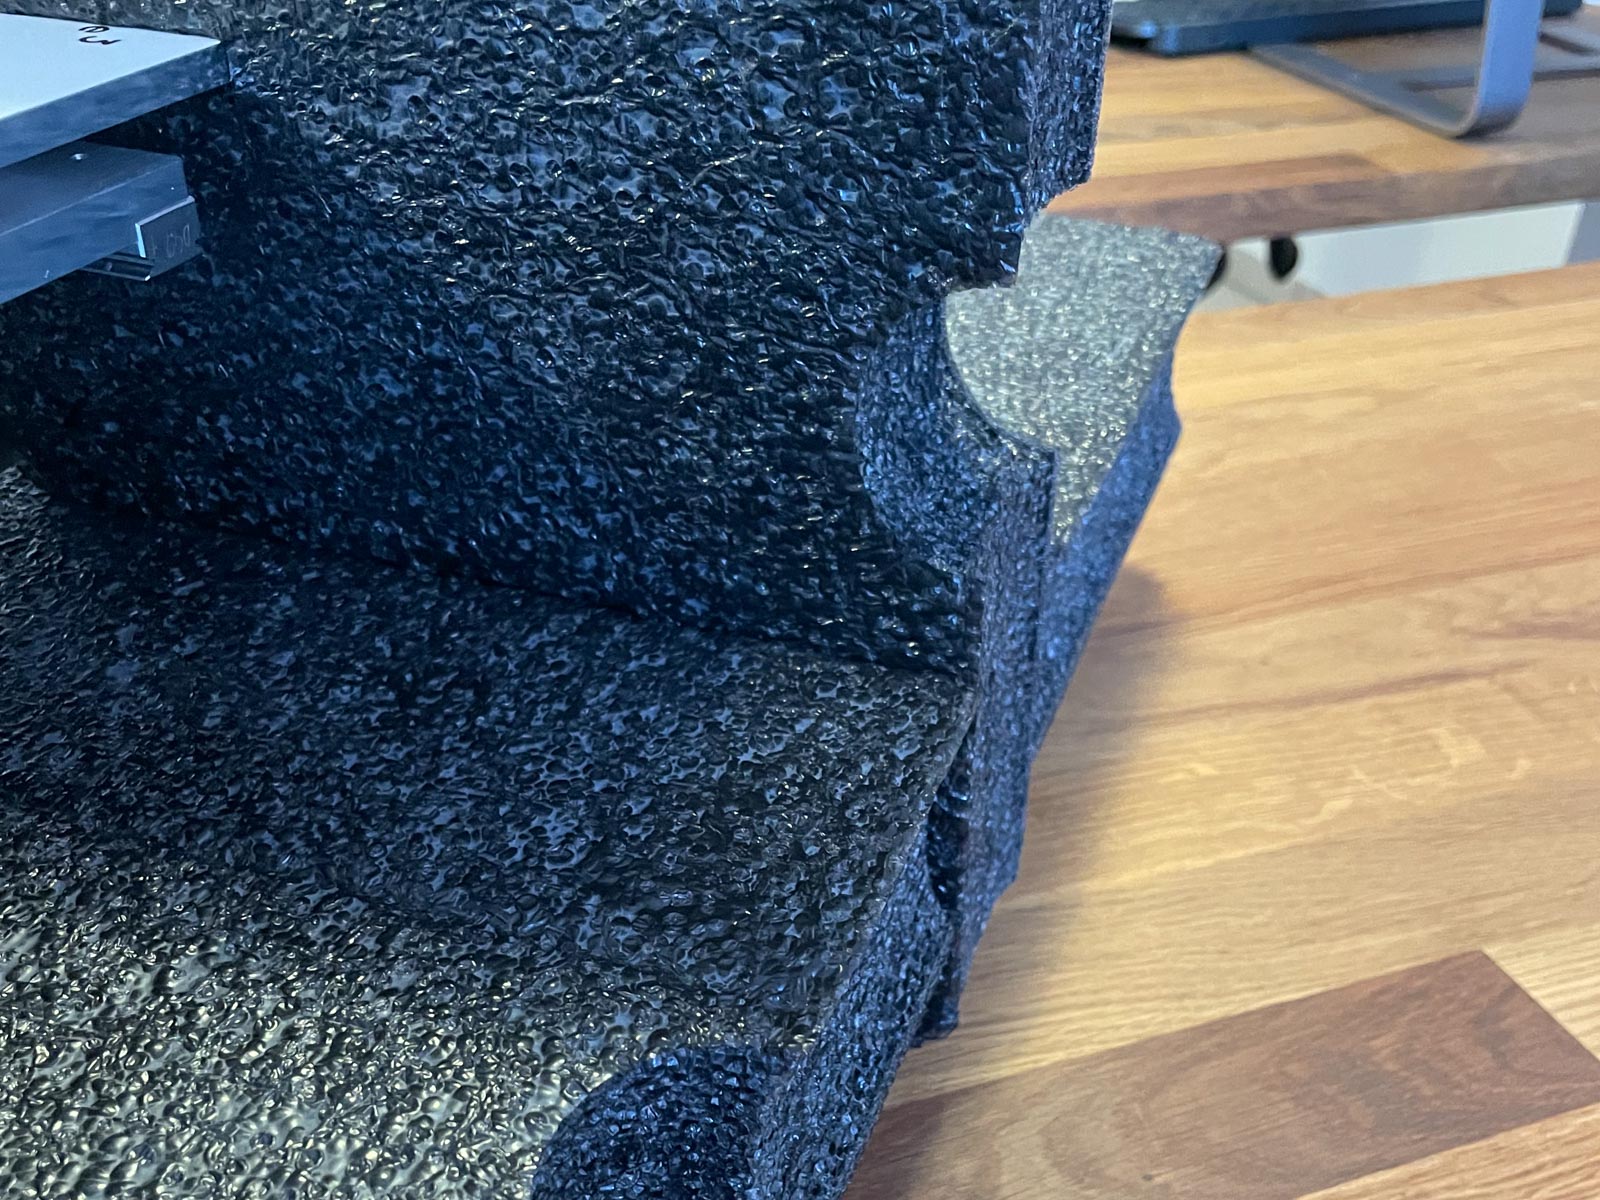
Optional
- Stick the foam pieces together like shown in the picture
- The finished assembly will be put on the printer in one piece
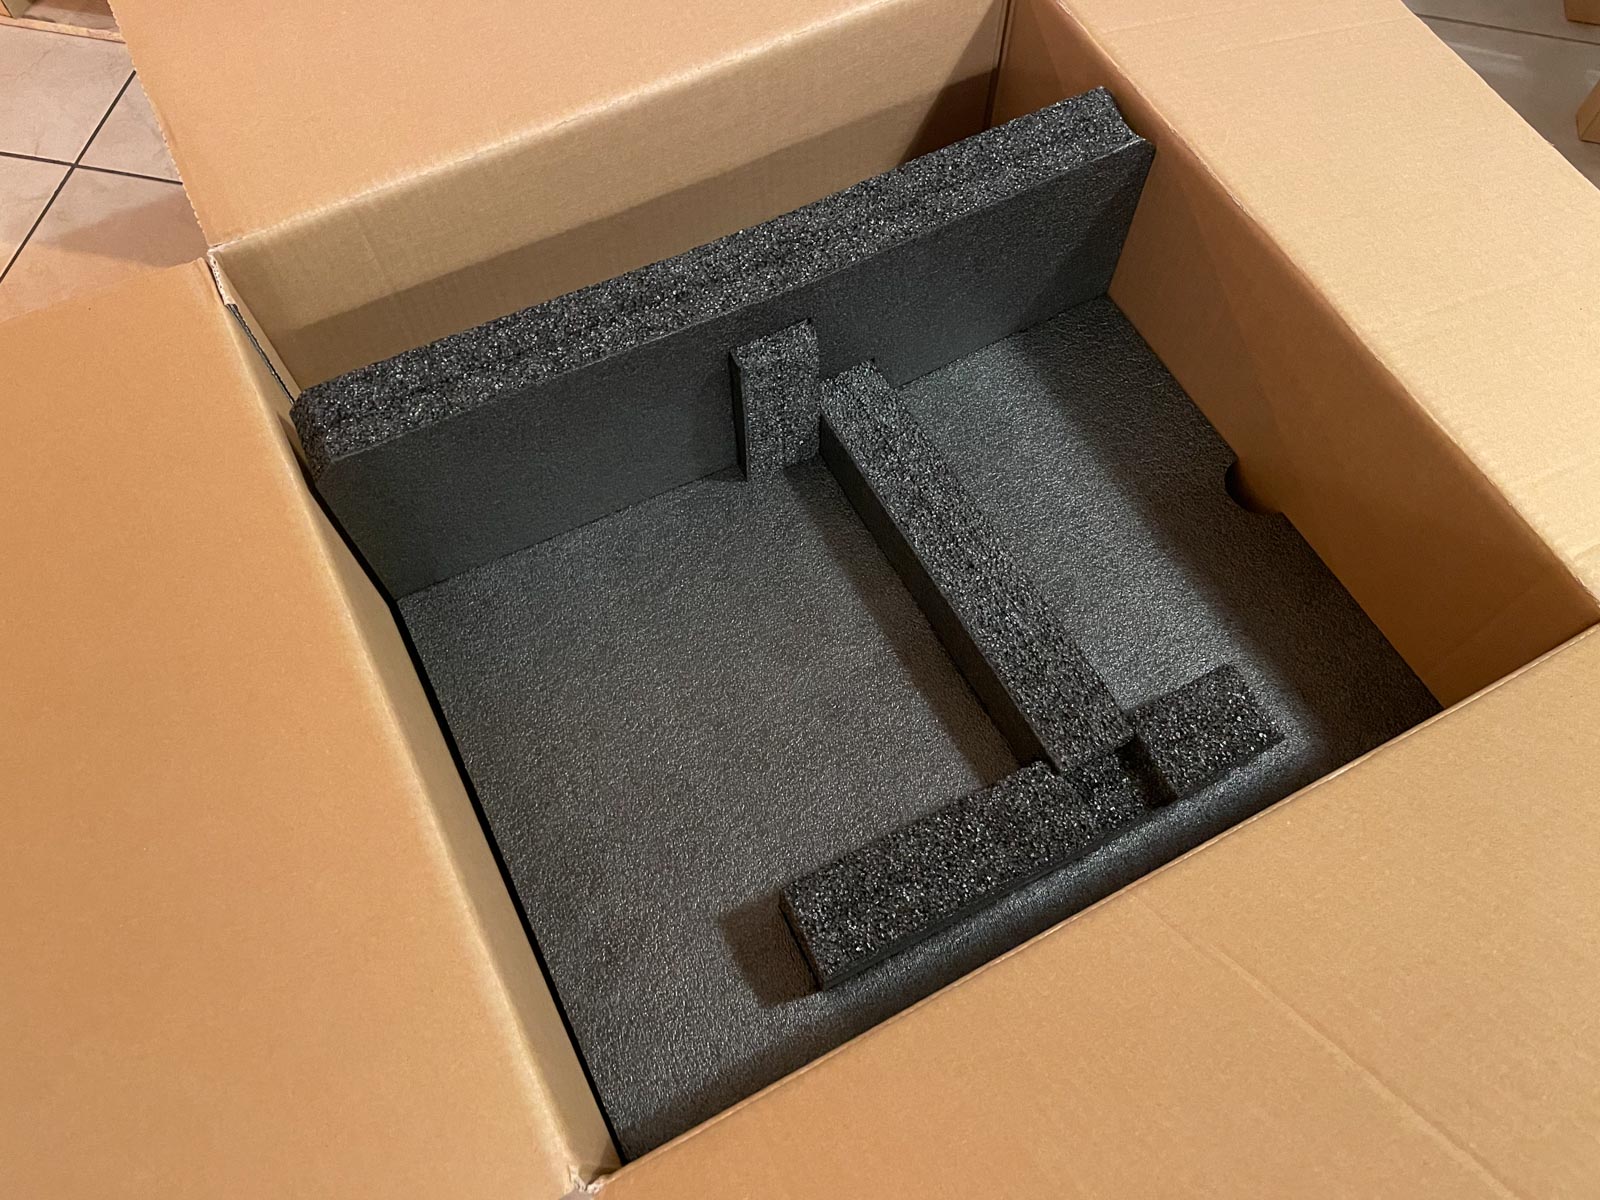
Packaging step 5
- Place the top half of the transport foam onto the printer
- Make sure the Printhead slides into the corresponding cutout
- Also make sure the wires on the back are not squished
Acessories
- Put all the accessories (if needed) into the smaller of the two boxes
- Fill the small box with a suitable packaging material and close it up
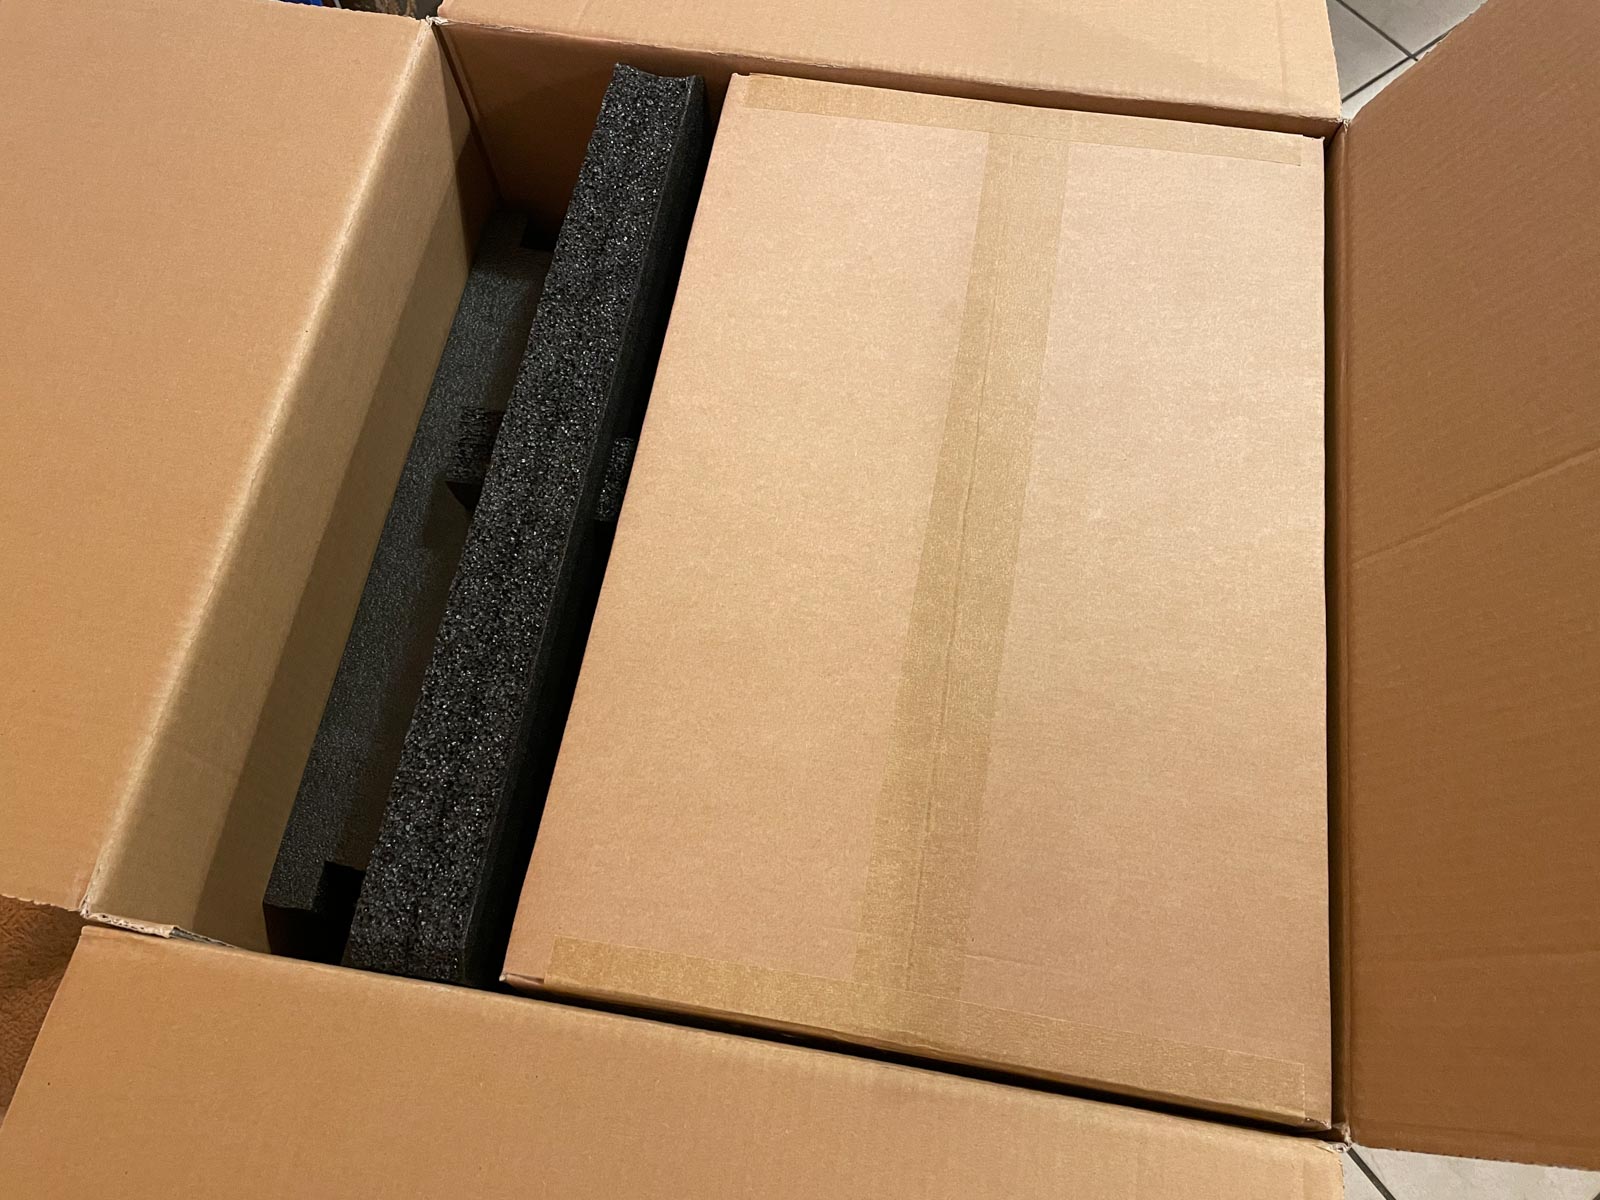
Packaging step 6
- Place the accessories box into the corresponding space of the foam
- Caution: Place the small box into the large package even if it is empty as it is important for over all stability
Closing up
- Close the whole box with a suitable tape
Note the weight of the printer when choosing a suitable tape! - Cover all the old barcodes for shipping!
(The barcodes with the serial number may still be visible)